WoolMap Editors@yarn-notes ·
Follow (RSS)Keeping a Project Notebook for Knitting and Sewing
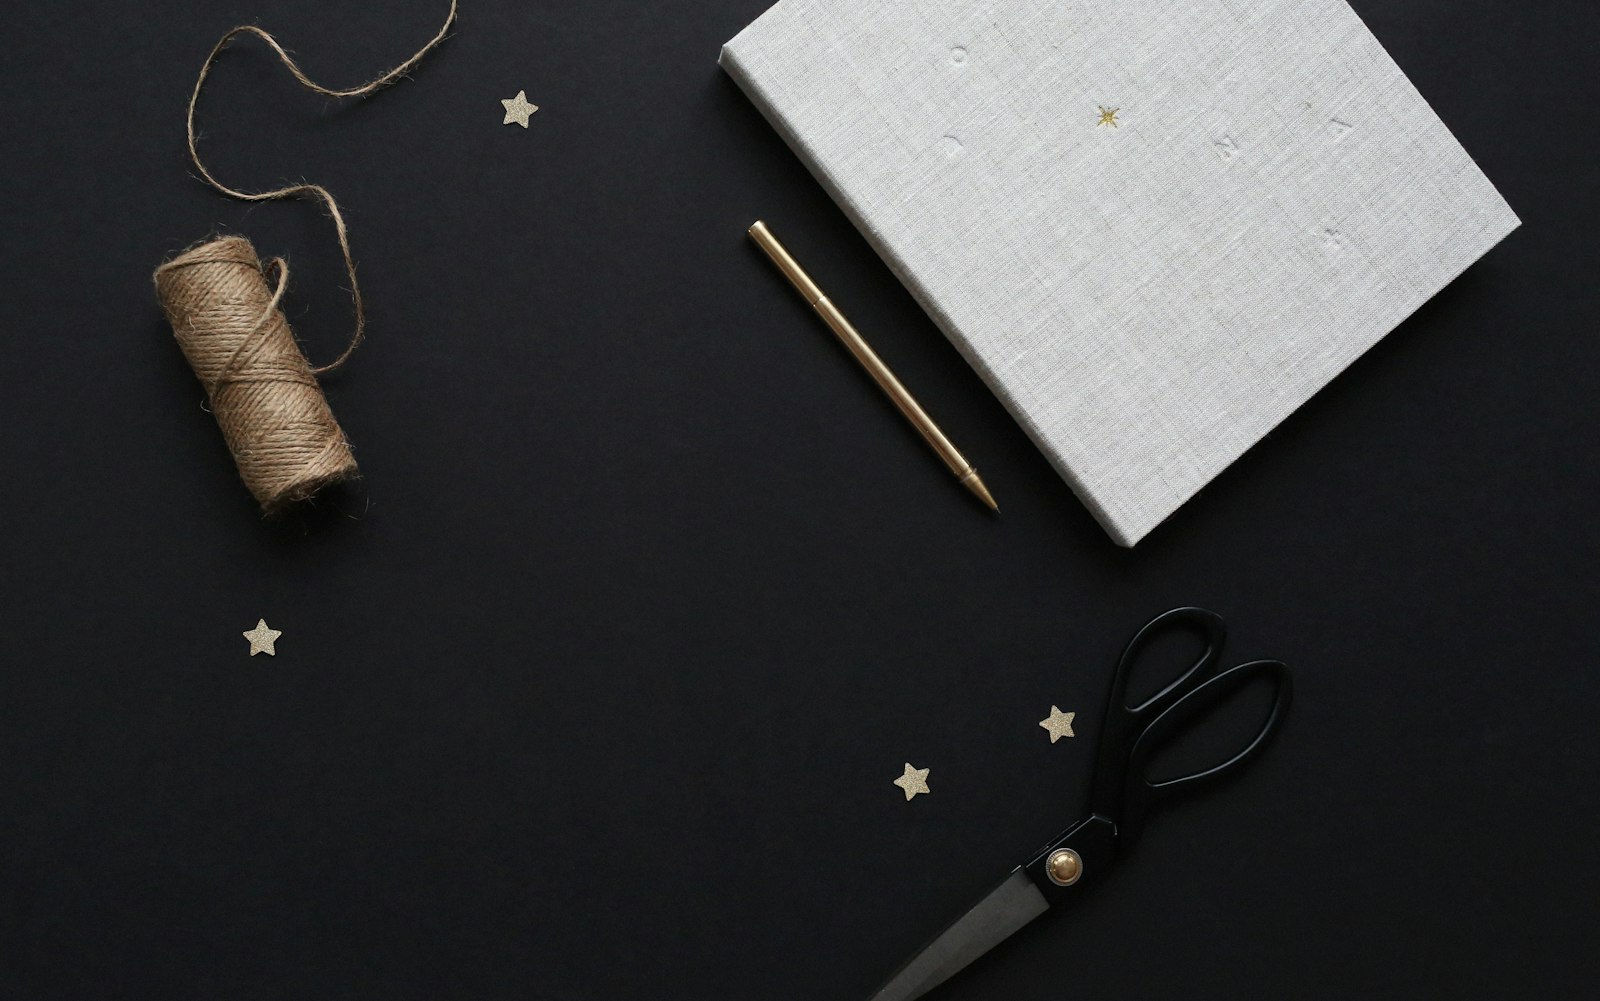
Sooner or later every maker asks the same question: what did I do last time? Which needle gave that lovely firm fabric? How much did the linen shrink? Did the bodice need shortening, or was that the other pattern? The answer existed once, on the back of a receipt or in a note on an old phone, and now you are knitting another swatch to find it out again.
A project notebook fixes this. We have already written about logging one make so you can write it up. This post is about the book itself: the one that stays on the shelf after the sweater is finished, and gets more useful with each project you add. The advice works for knitting and sewing alike, and for most crafts that involve materials, measurements and second attempts.
Choose a format you will actually open
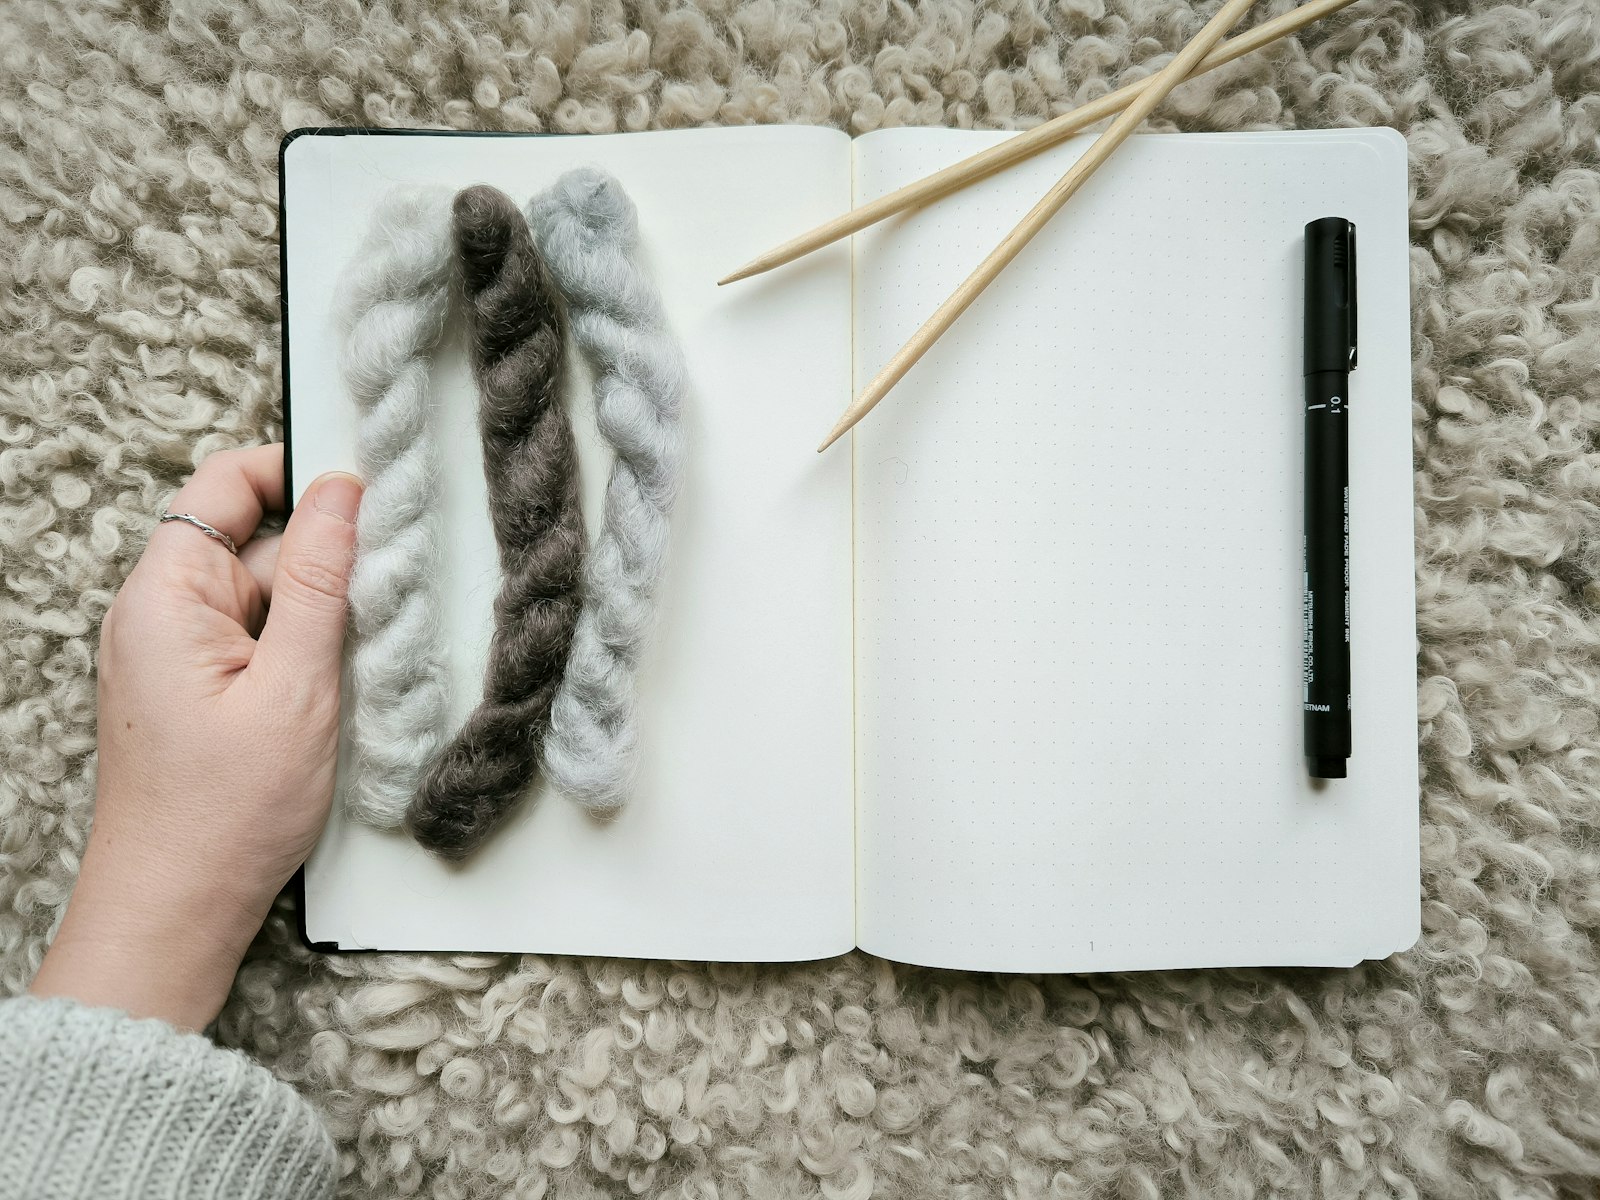
The best notebook is the one within reach when your hands are busy. Paper has real advantages here. It survives a project bag, needs no unlocking with chalky fingers, and you can staple a piece of fabric to it. A phone is better for photos and for searching. Plenty of makers end up with both, and that is fine as long as one of them is clearly the record.
If you go with paper, think about what the book has to hold:
- A ring binder takes printed pages, plastic pockets and bulky swatches, and lets you move things around. It is less portable.
- A hardback notebook travels well and feels pleasant to use, but it bulges once you start attaching things. Allow for that by keeping swatches on tags or using one with a pocket.
- Squared or dotted paper helps with little diagrams of a neckline or a colour repeat, and gives you a rough scale.
Whichever you pick, write your name and the start date inside the cover. When the book is full, you will want to know which years it covers.
Give every project the same page
A fixed layout means less thinking at the start and easier finding later, because the fibre content is always in the same corner. Rule up a page once, copy it for each new project, and leave the second page free for running notes. A useful set of headings:
- What and who for: pattern name, designer, where you got it, the size you chose and who will use it.
- Materials: yarn or fabric, fibre content, weight or width, amount bought, shop or maker, dye lot.
- Tools and settings: needle or hook size; for sewing, machine needle, thread, stitch length and tension.
- Gauge or fabric prep: your numbers beside the pattern's, or how you washed and pressed the cloth.
- Dates: started, finished, and any long gaps in between.
- Verdict: blank until the end, and the most valuable line on the page.
Here is an invented example of a verdict from a sewn shirt:
Wearing it weekly. Shoulders fine, sleeves 2 cm long, collar stand too stiff with this interfacing. Next time: lighter interfacing, take the 2 cm off before cutting, and press the cuffs before attaching. Enough linen left for a pocket repair.
Six months on, that paragraph saves you a fitting and a trip to the shop. Write it about a month after finishing if you can, once the piece has been worn and washed. The first flush of pride is a poor judge of a collar.
Keep the material on the page
A written description of a fabric only goes so far, and this is where paper beats any app. Keep a real sample with its notes, so you can feel it again years later.
For knitting and crochet, snip a short length of yarn and tie it through a hole-punched tag, along with the ball band or a photo of it, since the band holds the care instructions and the dye lot. Keep your swatch if you have room, or note its size, its stitch and row counts per 10 cm and the needle you used. Measure after washing and blocking and say so, because a swatch can change once it has been wet, and you want to know which numbers you are reading.
For sewing, staple in an offcut and write beside it how it behaved. Did it fray, shift under the presser foot, or mark when pressed? Before you pre-wash a new fabric, mark a measured square on it, then measure again once it is dry and write down the difference. Keep your test seam too, labelled with the needle and settings. When you buy similar cloth in a few years, that scrap will tell you where to start.
Reserve a few pages at the back
Some things belong to you rather than to a project. Keep them together at the back of the book, where you can flip to them without hunting:
- Your measurements, dated, because bodies change and an undated number is hard to trust. Include the ones patterns ask for: high bust, full bust, waist, hip, back waist length.
- Your habits: "I knit tight and usually go up a needle size in cables", or "I always need a shorter bodice". Each one is worth a line once it has happened more than twice.
- Alterations that worked, with a small sketch, so you are not working out a sloping shoulder from scratch again.
- Machine notes: the settings that behaved on knits, on denim, on anything slippery.
- Tools you own: a list of needle sizes and lengths, handy when you are standing in a yarn shop.
Spend a few minutes on these pages whenever you finish something. If the same note turns up on three project pages, promote it to the back.
Number the pages and keep an index
A notebook without an index turns into a pile again after a couple of dozen projects. Number the pages as you go, and leave the first two or three blank for a contents list: project name, craft, page number. Add a word or two about why you might look it up, such as "good sock heel" or "how the viscose shrank".
Photograph each project page when you finish, too. Paper can get lost or soaked, and a photo in a dated album gives you a backup you can search by date. When a book fills up, write the dates on the spine and start the next one with your back pages copied over. Updating them by hand is a good excuse to notice what has changed.
Turn the notebook into something you can share
The notebook is private, so it can be messy and honest. That also makes it the best raw material for writing. Almost every note in it could become a post: a comparison of two swatches, a shrinkage test, a year of fit alterations. Your verdict lines in particular are the details other makers go looking for and rarely find.
When you move something from book to blog, leave behind anything you copied out of a paid pattern for your own use, and pass on your own findings instead. Check the colour in any photos of swatches against the real thing, using the habits in photographing a finished piece.
On WoolMap, writers file posts into categories of their own, so a board named after your notebook, or one for each craft, can grow alongside the paper version. The help page explains how categories and topics differ, and the features page shows what a profile includes. Start small, though. Tonight, the only thing the book needs is a date, a project name and whatever you can still remember about the last thing you made.