
WoolMap Editors@yarn-notes ·
Follow (RSS)Writing a First Tutorial for Total Beginners
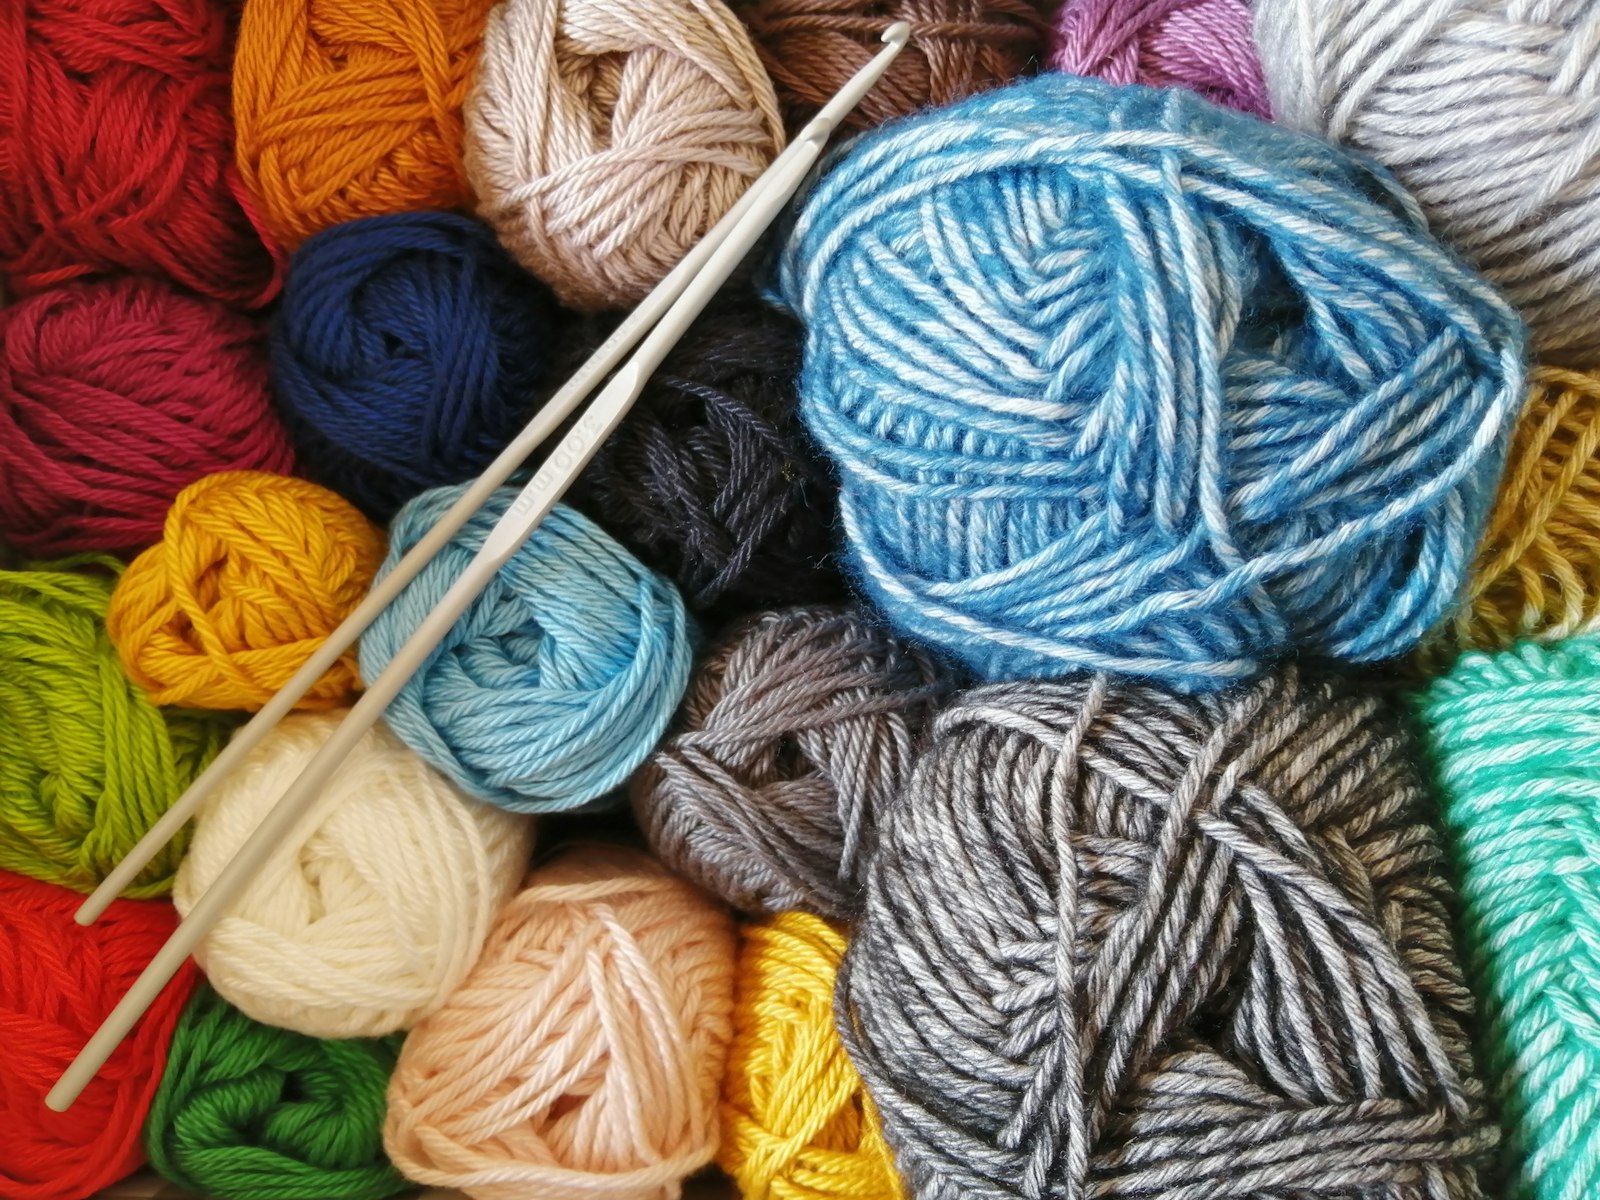
The hardest person to write for is someone who has never held the tools. You have knitted, crocheted or stitched for so long that the basic motions have sunk below thought. Your hands know how to hold the yarn; you no longer remember learning it. A beginner has none of that, and the gap between what you consider obvious and what they actually need is where most beginner tutorials fail.
A good first tutorial is not a short version of an advanced one. It is a different kind of writing: slower, narrower and more concrete. Here is how we would go about it.
Remember what you no longer notice
Before you write, watch yourself do the skill slowly, as if for the first time. Better still, watch someone who has never done it try. You will notice dozens of small decisions you make without thinking:
- Which hand holds what, and how tightly.
- Which end of the yarn is which: the working yarn from the ball, and the tail.
- Where the needle or hook goes in: front or back of the stitch, from left or right.
- How you know a stitch is finished and it is time to start the next one.
Every one of those is a place where a beginner can get stuck. Write them down before you begin the tutorial, and make sure each one is answered somewhere in it.
Teach one skill per post
A post titled "learn to knit" that covers casting on, the knit stitch, the purl stitch, binding off and weaving in ends is five tutorials in a trench coat. A beginner will reach the purl section with three dropped stitches and a strong urge to stop.
Split it. One post for casting on, one for the knit stitch, one for binding off. Link them in order so each ends with "next: …" and begins with "before this, you'll need …". Each post can then go as slowly as its skill needs, and a reader who stalls at one step can come back to just that step.
A short series also gives you a natural place to stop and practise, which brings us to the end of the tutorial, but first the beginning.
List what they need, and what they can use instead
Beginners do not know what is interchangeable. Be specific about the materials, and generous about substitutes:
- Yarn: a smooth, light-coloured yarn in a medium weight is the easiest to learn on, because the stitches are easy to see. Mention that dark, fuzzy or very thin yarns make the first attempts harder.
- Tools: give a size range, not a single brand. Explain how to read the size on the tool or its packet.
- Anything else: scissors, a tapestry needle. If a household item will do, say so.
Keep the shopping list short. A beginner who has to buy eight things before starting often does not start.
Describe what the hands do, step by step
Each step should describe one physical action, in the order it happens, with the hand that does it. Compare:
Knit the stitch.
Push the tip of the right needle into the front of the first stitch on the left needle, from left to right, so the right needle sits behind the left one.
The second is longer and far more useful. Number the steps. Keep to one action per step. Use the same word for the same thing every time; if you call it the "working yarn" in step two, do not call it "the strand from the ball" in step five.
Photographs or short clips of hands mid-action help enormously here, taken from the maker's own point of view so the reader sees what they will see. Our notes on photographing a finished piece cover light and background; for process shots, add one more rule: keep the camera in the same place for every step so only the hands change.
Show what wrong looks like
Beginners are not short of mistakes; they are short of the ability to recognise them. A tutorial that shows only the correct result leaves them unsure whether their lumpy first rows are normal or a problem.
Include a short section on the common early mistakes for your skill, with a photo of each where you can, and say how to fix it or whether it matters at all:
- A growing stitch count, often from wrapping the yarn over the needle by accident, or working into both legs of the first stitch.
- A dropped stitch, and how to pick it up with a crochet hook, or how to safely ignore it on a first practice piece.
- Twisted stitches, which look slightly crossed at the base.
- Tension that is too tight to get the needle in, which is very common and usually loosens with practice.
Tell them, too, that uneven stitches in a first piece are normal. That reassurance is part of the instructions.
End with a small project, then test it
Finish each tutorial with something to make using only the skill just taught: a small square, a dishcloth, a bookmark. Give exact numbers (cast on 20 stitches, knit 30 rows) so the beginner knows when they are done. A finished object, however plain, is what turns a lesson into a habit.
Before you publish, hand the tutorial to someone who has genuinely never done the craft and watch them follow it without help. Every time they hesitate, look at the line they were reading. You will rewrite more than you expect; that is the point of testing.
Later, when your reader is ready for a full pattern, the habits in writing a pattern other makers can follow take over: gauge, sizes, abbreviations. If you have questions about posting a tutorial series on WoolMap, the help page covers how blogs and posts work here.